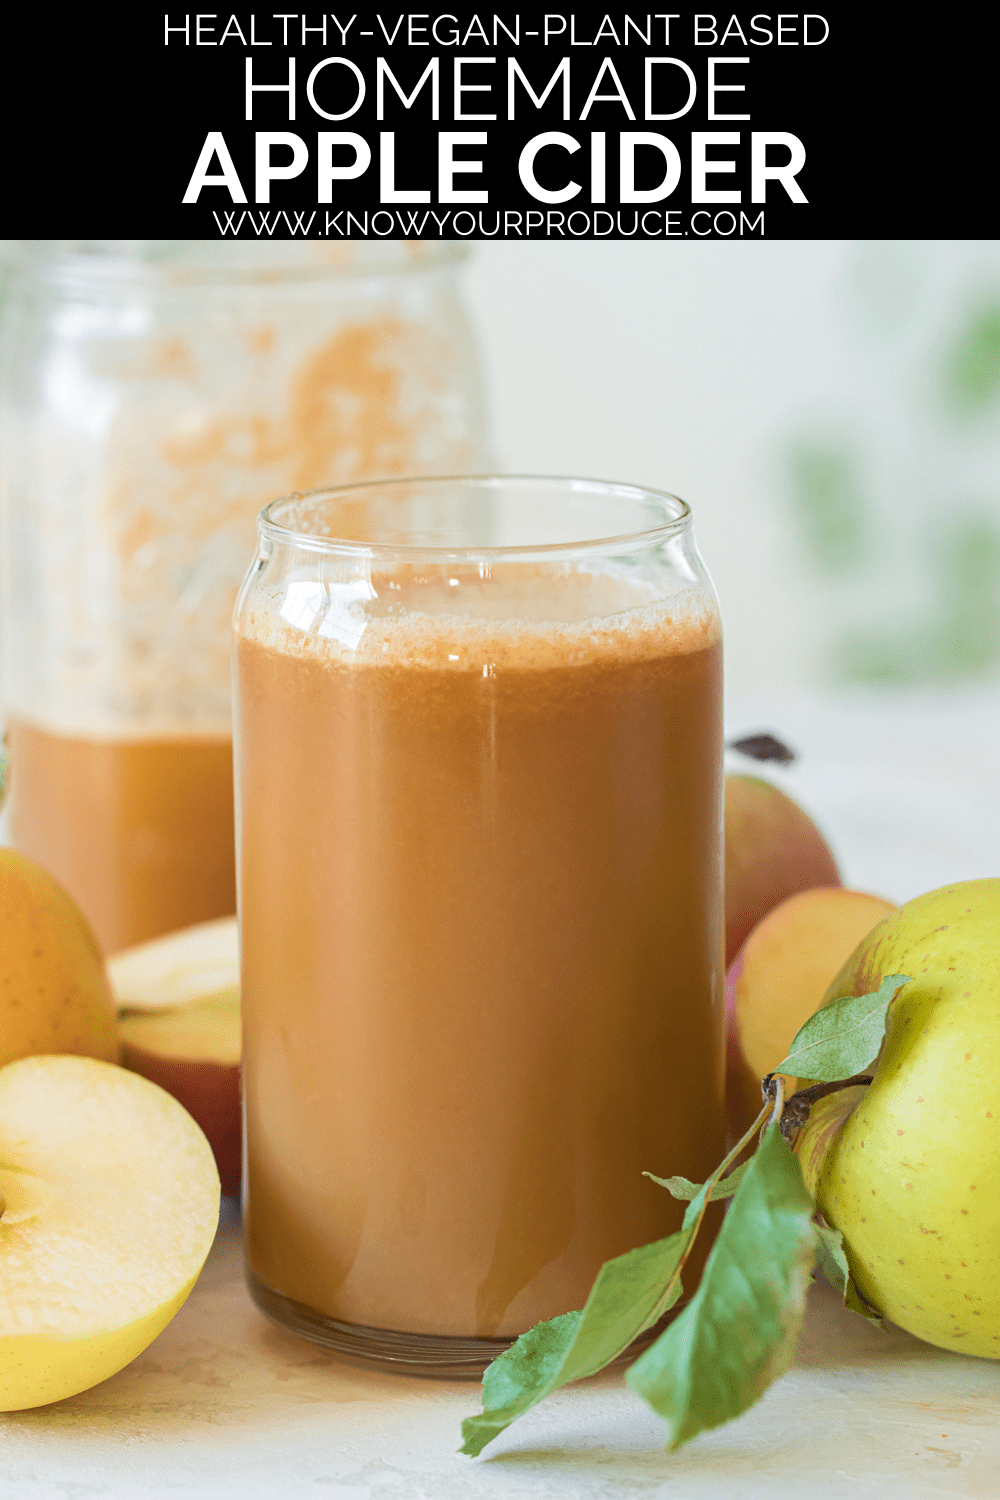
Making Homemade Apple Cider is super easy! Our apple cider recipe uses fresh apples in a slow masticating juicer or high speed blender with a nut milk bag.
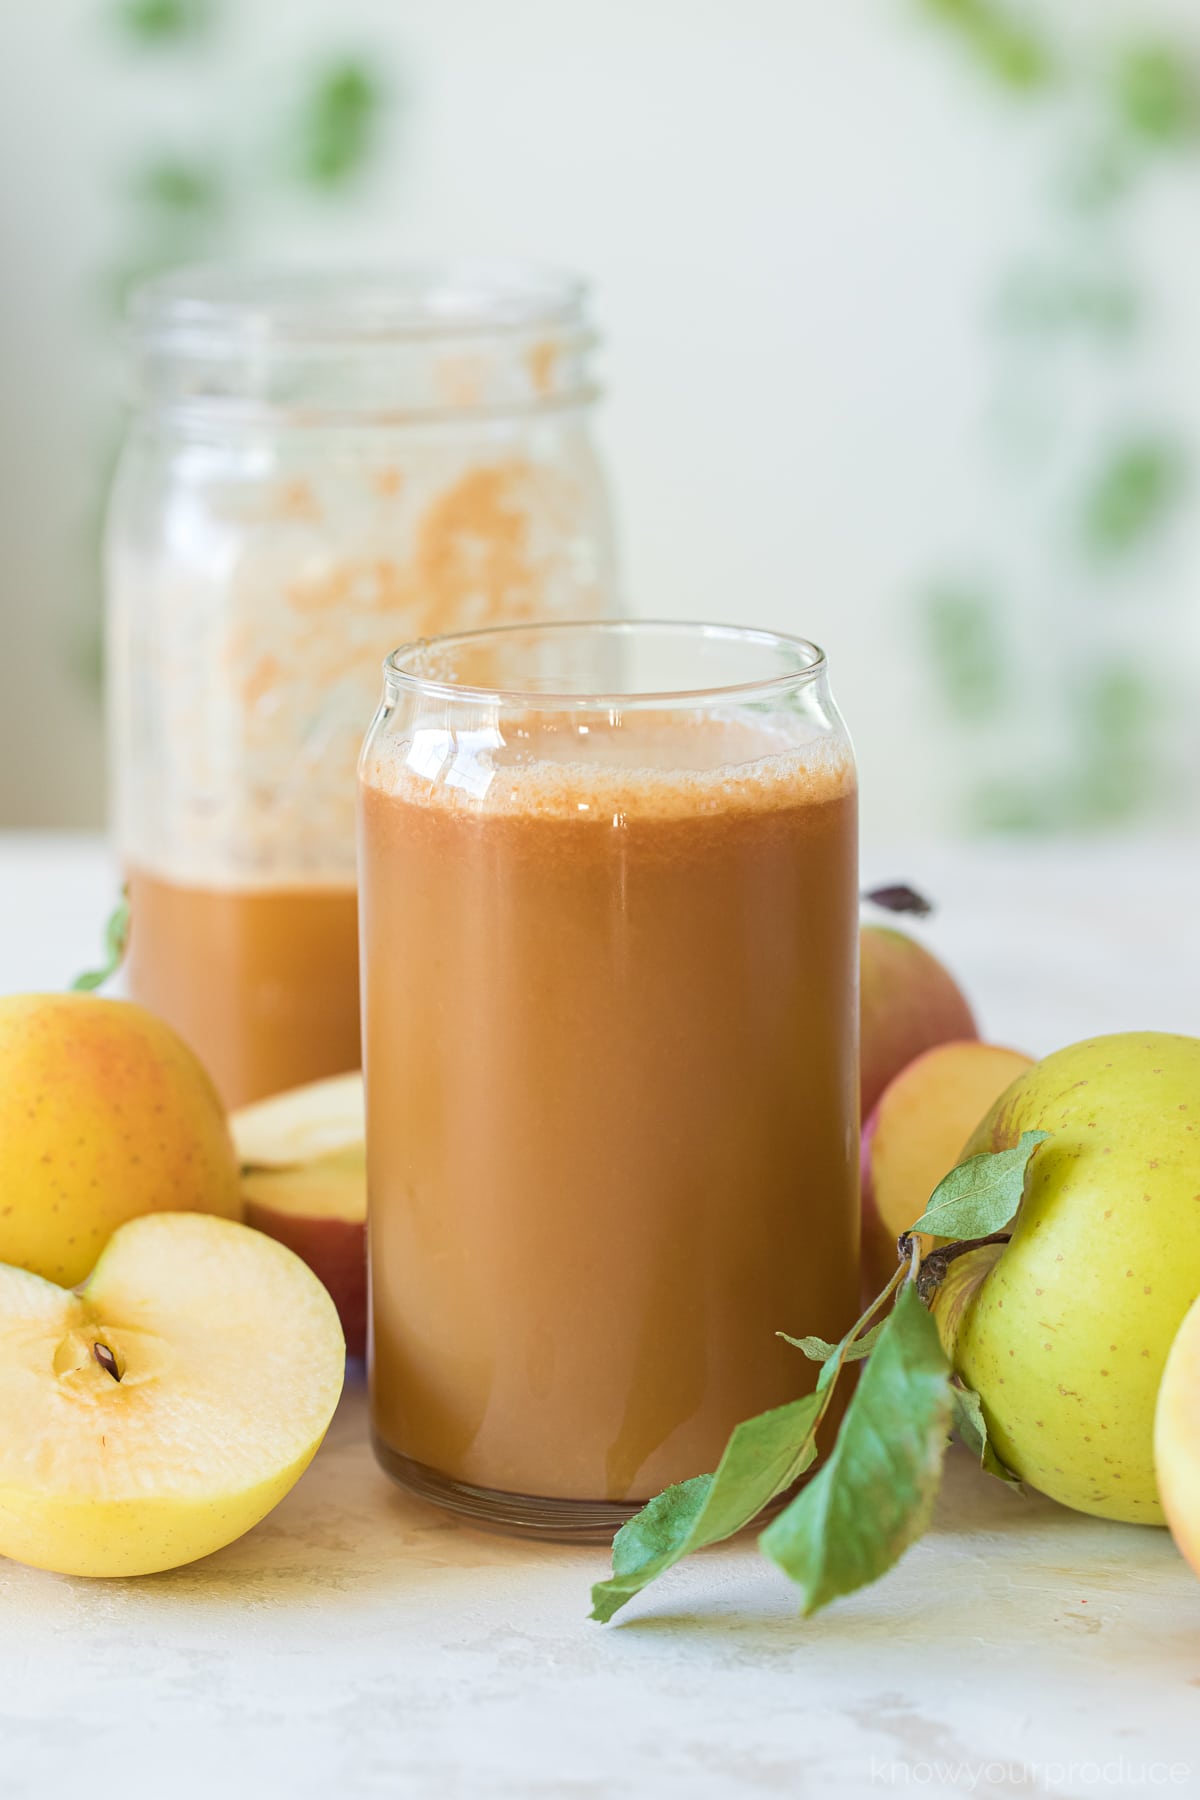
Why you’ll love this recipe: If you love getting fresh apple cider from the farmer’s market, this recipe is for you! It is the fresh apple cider you’ll have, and it’s even better than the farmer’s market!
If you picked a ton of apples and have no clue what to make with them, bust out your juicer or high-speed blender and make your homemade apple cider! It’s super simple, packed with nutrients, and simply delicious.
This fresh apple cider recipe is a great way to use up farmer’s market freshly picked apples. Don’t get me wrong, we love homemade apple pie, apple sauce, and apple butter, but apple cider is our absolute favorite fall drink.
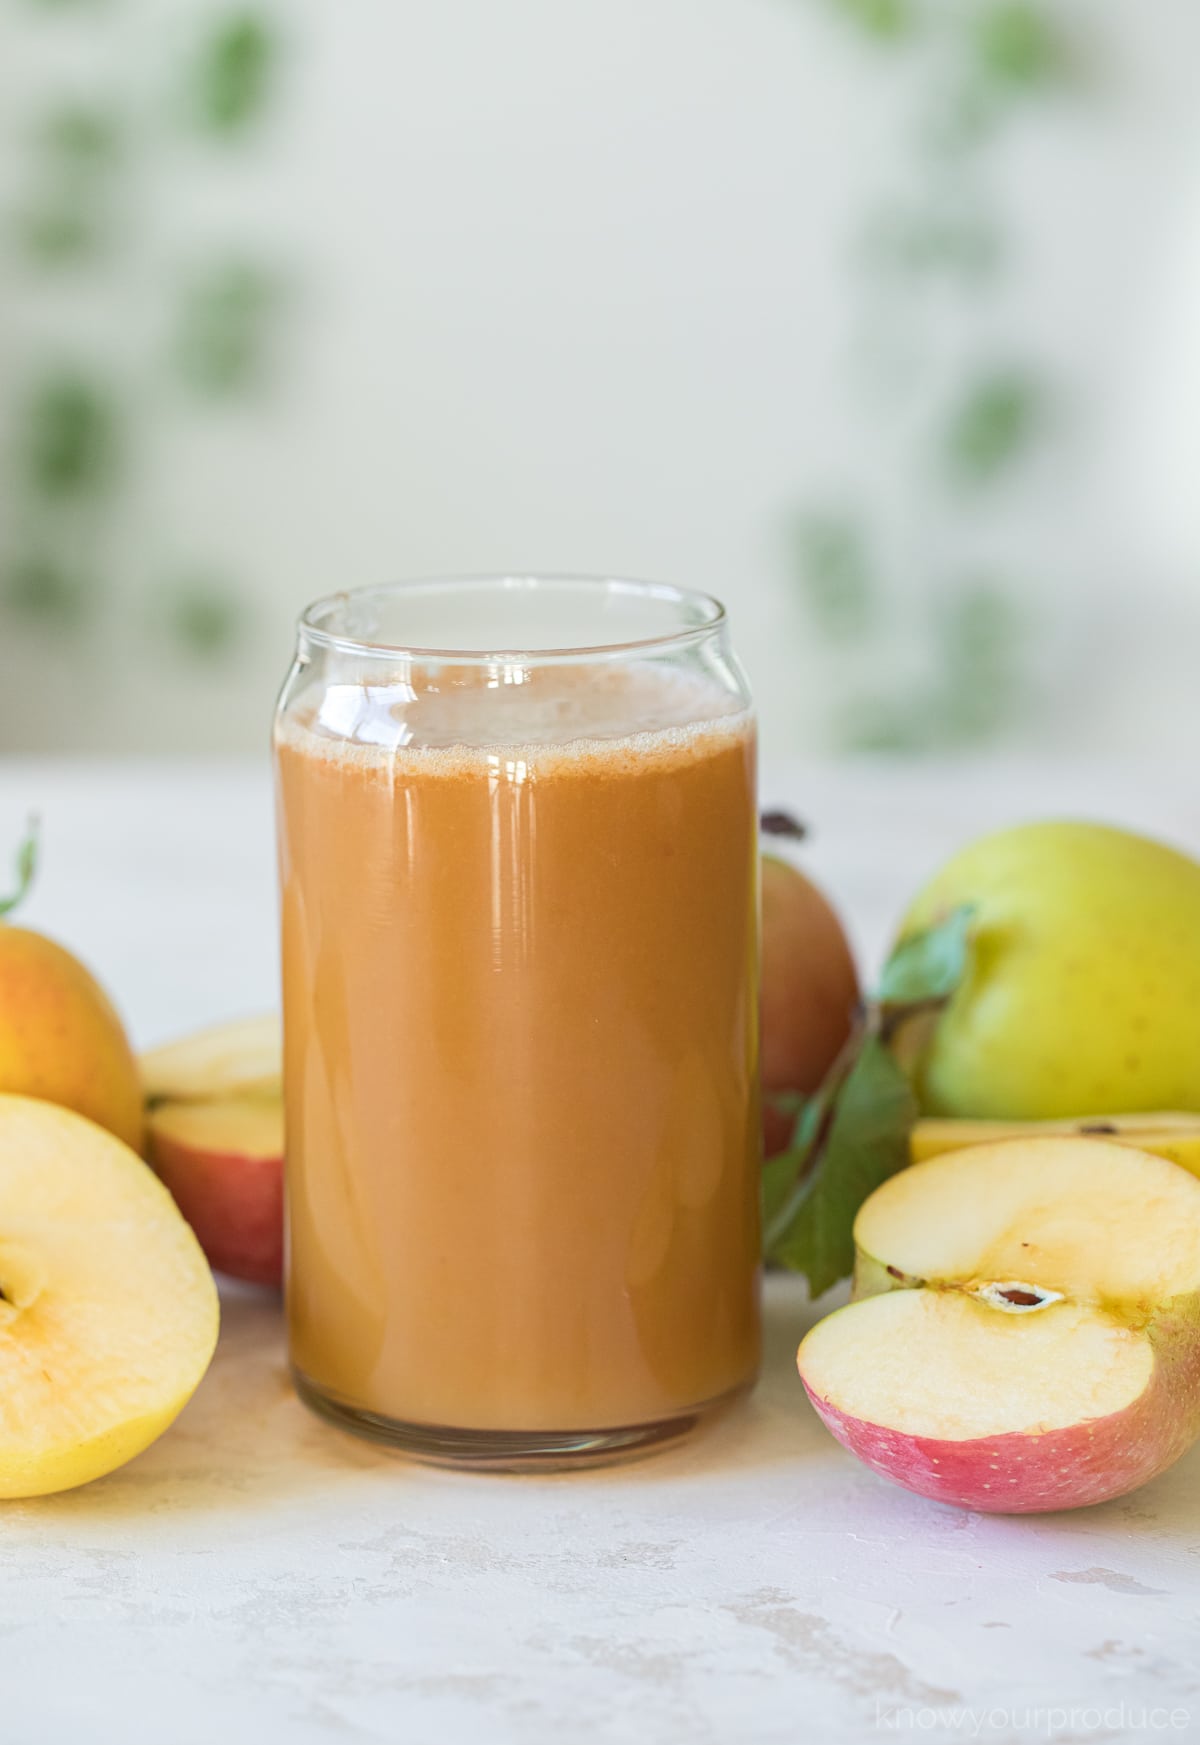
Ingredients you’ll need:
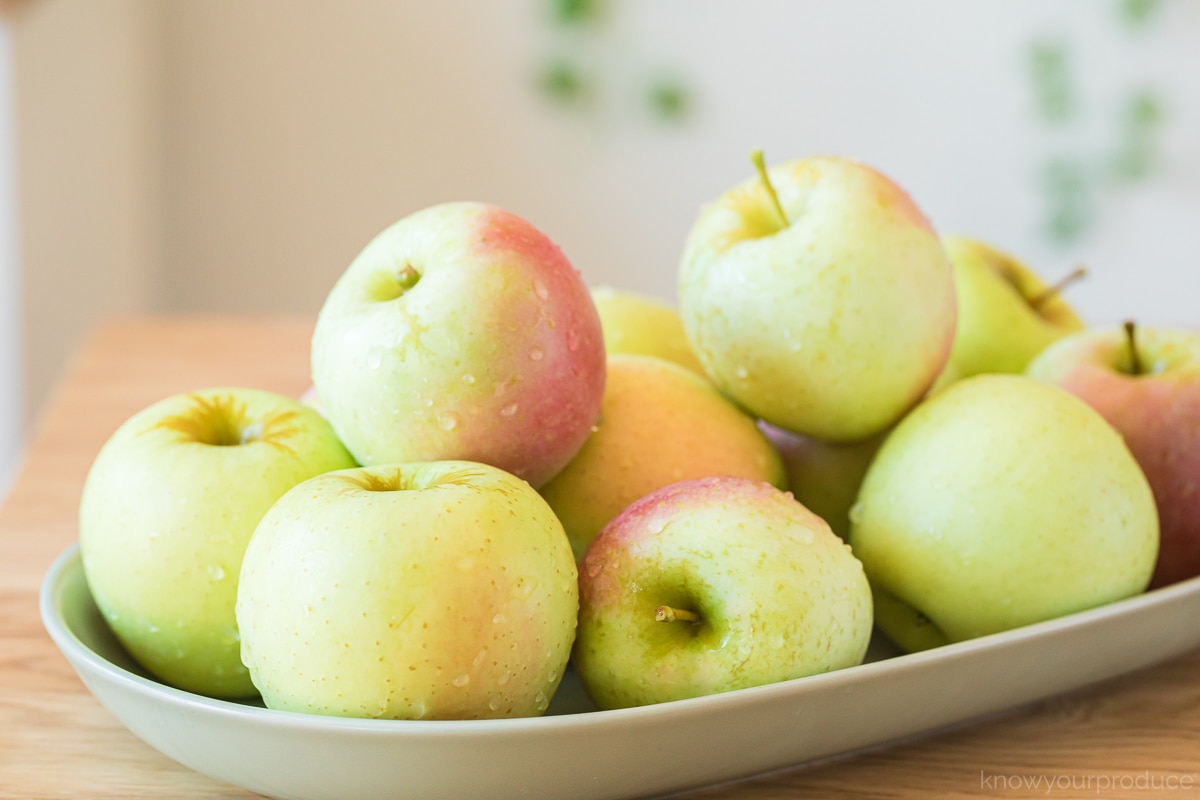
- Fresh Apples – when picking apples, we prefer using a combination of apples instead of just one variety. Honeycrisp is our favorite apple in general, and it works well for apple cider along with Pink Lady, Gala, Cortland, Jonathan, Jonagold, Braeburn Golden Delicious, and Fuji Apples. If you like sweet, go with a sweeter apple; if you want more tart, go with a tarter apple.

HOW TO MAKE HOMEMADE APPLE CIDER
- Wash and core your apples if your juicer can handle whole apples, otherwise cut the apples and remove the core/seeds from the apples.
- Place the apples into your juice and juice the apples.
- Once the juice comes out of the juicer enjoy it right away or quickly refrigerate and store for in the refrigerator.
WHAT IS THE BEST MASTICATING JUICER?

For years we’ve used and loved the Solostar® 4 Horizontal Slow Masticating Juicer. However, one of my least favorite things about the juicer was the cleanup and the tiny feed chute.
We’ve since upgraded to the Nama J2 juicer, and we are in absolute love with it. Worth every penny! The Nama J2 juicer has a massive hopper that allows you to load an entire batch of fruits and veggies into the juicer. Then you can juice the whole batch just by turning it on. It comes with a plunger, but we haven’t had to use it at all yet.
You can walk away from this machine as it juices. We keep the juicer spout closed and just let it juice as we do other prep in the kitchen. It’s the ultimate batch juicing juicer!
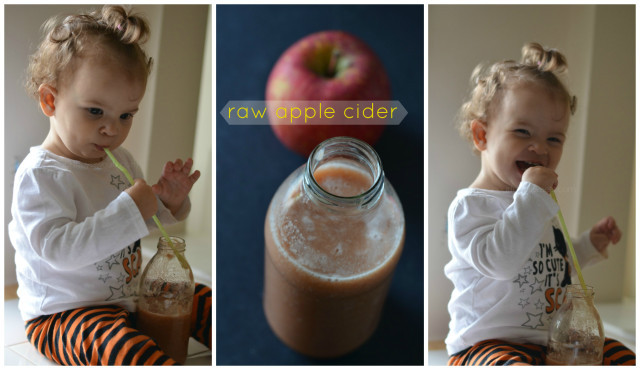
It also has safety features that prevent it from turning on until the juicer hopper is closed. This is extremely important as we have little hands in the kitchen that love to help. 🙂
To us, the Nama J2 is the best masticating juicer you can buy so we bought it and we’re loving it! That being said, the best juicer is one you will use. This one is easy to use, easy to clean, and perfect for juicing in bulk. We like to do large batches of juice and it’s cut our juicing time in half, if not more.
Recipe Tips:
- If you’re using a masticating juicer, you can store your juice for up to 72 hours. However, we do not recommend storing juice made in a centrifugal juicer as this heats up the juice and nutrient loss is greater with this juicing method.
- Remove the core and seeds from your apples. It’s important not to juice the seeds as apple seeds contain amygdalin, and once it is released into the body it will produce cyanide which can be dangerous, read more on this here.
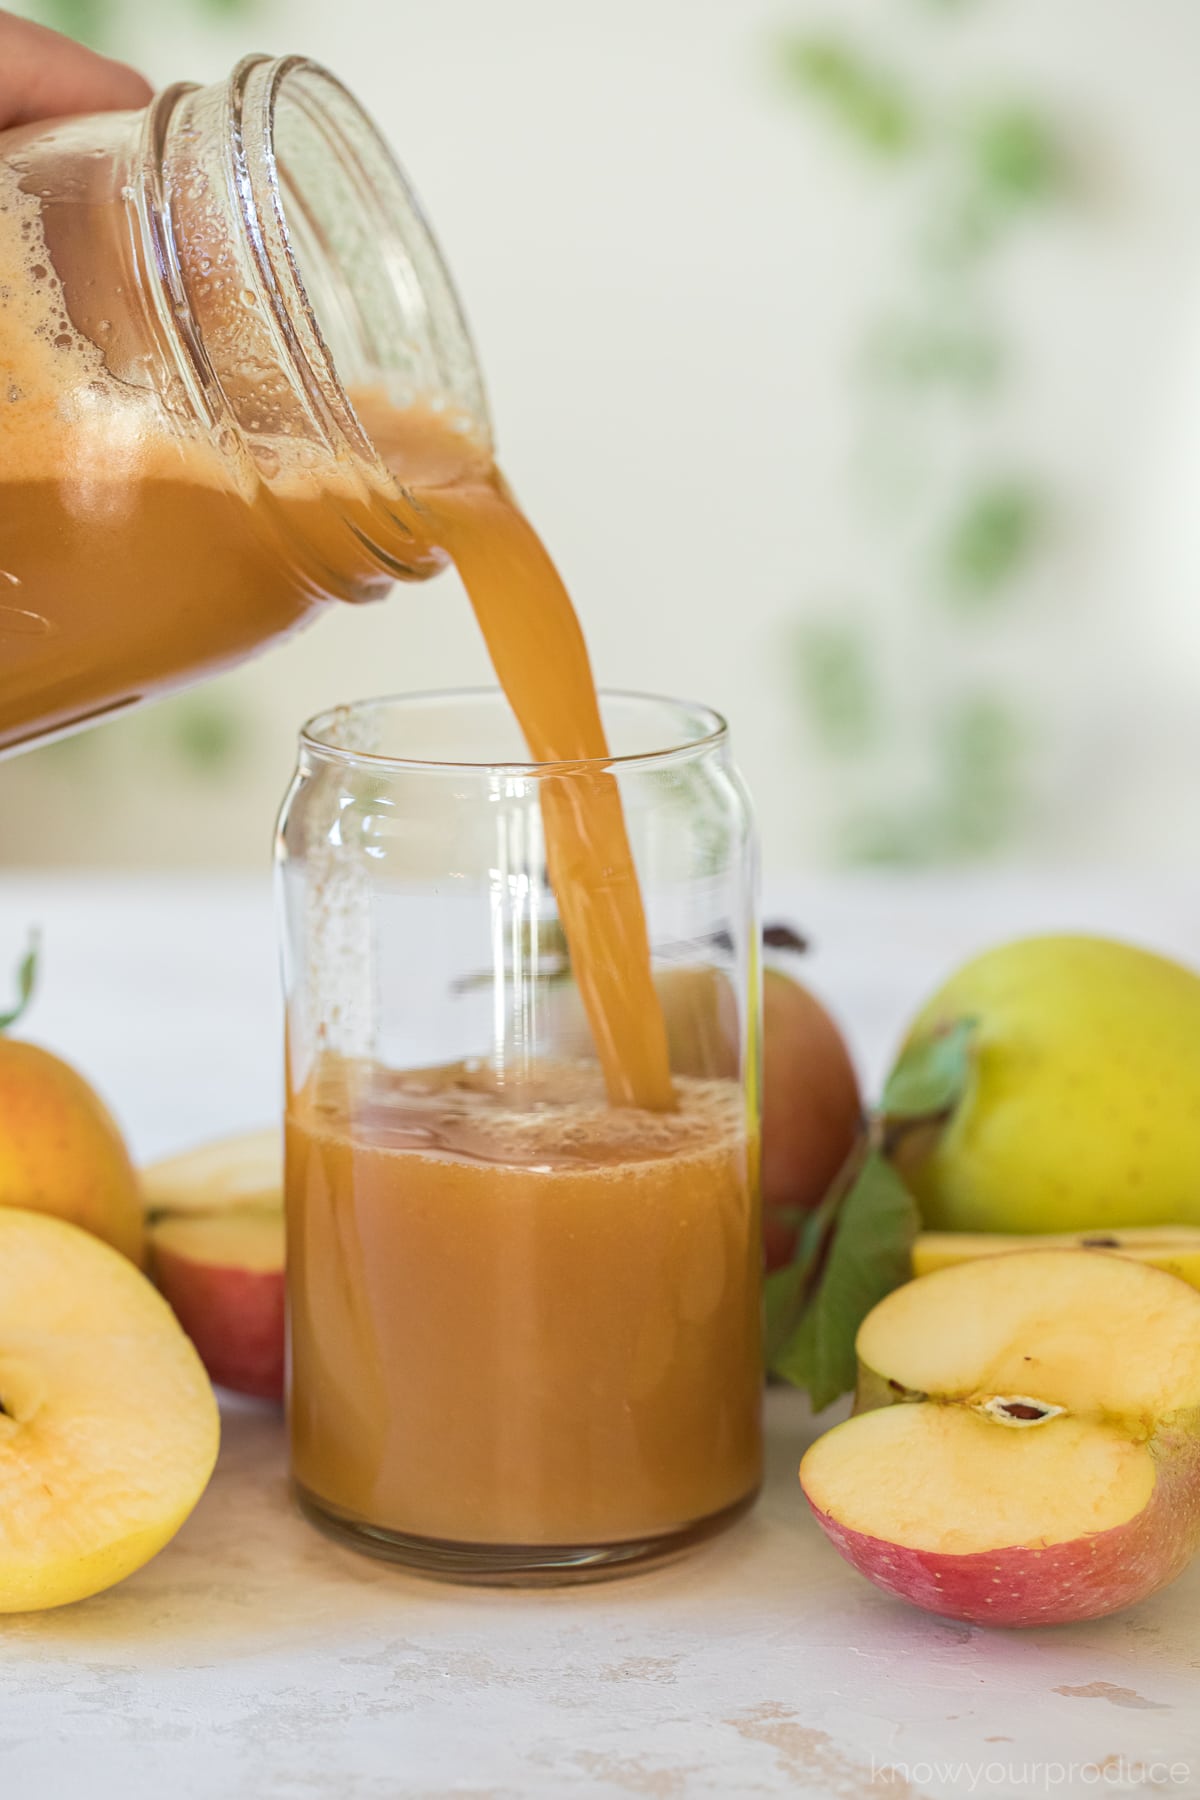
- When storing fresh juice, we recommend using a glass mason jar and filling it to the top. When you fill it right away, and to the top, you reduce the amount of air the juice is exposed to and reduce the loss of nutrients and oxidation. The juice will darken the longer it is exposed to the air.
- This homemade apple cider recipe is an excellent option for freshly picked apples and works well with a variety of apples.
- After storing the apple cider it will separate, just give it a gentle shake before enjoying.
- If you do not like any pulp or foam in your juice we recommend using a mesh strainer or sieve to remove it.

FAQs
We recommend that you remove the core and seeds from the apple due to the amygdalin in the seeds, which can be dangerous to consume.
Traditional apple juice is cooked and then the liquid that is strained from the apples after cooking is the juice. Our homemade apple cider is a fresh-squeezed apple cider. When you go to the farmer’s market, this is the apple cider you know and love. Juicing fresh apples is how fresh homemade apple cider is made.
There is no need to peel your apples. Just give them a good wash and then remove the core and apple seeds.
You can enjoy this for up to 72 hours after juicing in a masticating slow juicer. We recommend enjoying it right away if you’re using a fast juicer like a centrifugal juicer.
We love to add the leftover apple pulp to muffins, pancakes, cookies, bread, smoothies, or even enjoying it as is. Always freeze your leftover pulp as there are so many ways to enjoy it.
This fresh apple cider recipe can be made in any blender, but we find that we get the best results with our Vitamix, KitchenAid Professional, or Blendtec high-speed blenders. They are true powerhouses that liquify ingredients, whereas another blender may have a tough time.
If you use a traditional blender, try to find one that has a tamper. If it isn’t as powerful, you may get more pulp, but you can use a mesh strainer to remove or nut milk bag. You’ll want to blend the apples with water and then strain it out. It does water down the apple cider, so only use as much as you need to blend the apples.

MORE APPLE RECIPES

Homemade Apple Cider
(click stars to vote)
Print Pin SaveIngredients
- 12 Apples
Instructions
- Wash your apples and then remove the seeds and core. Then slice the apples into whatever size fits into your juice.
- Place the apples into your juice and then pour the juice into your desired jars.
- Refrigerate right away and store in the refrigerator or enjoy after juicing.
Video
Notes
- After storing the apple cider it will separate, just give it a gentle shake before enjoying.
- If you do not like any pulp or foam in your juice we recommend using a mesh strainer or sieve to remove it.
Nutrition
The nutritional information is automatically calculated and can vary based ingredients and products used. If the nutrition numbers are important for you we recommend calculating them yourself.
Did you try this recipe? Be sure to leave a recipe rating! Also, tag us @knowyourproduce on Instagram and hashtag it #knowyourproduce so we can share it!.







Leave a Reply